To create a webinar, log in to Backstage, and click on the Webinar button located in the main menu to the left of the screen:
From here you can:
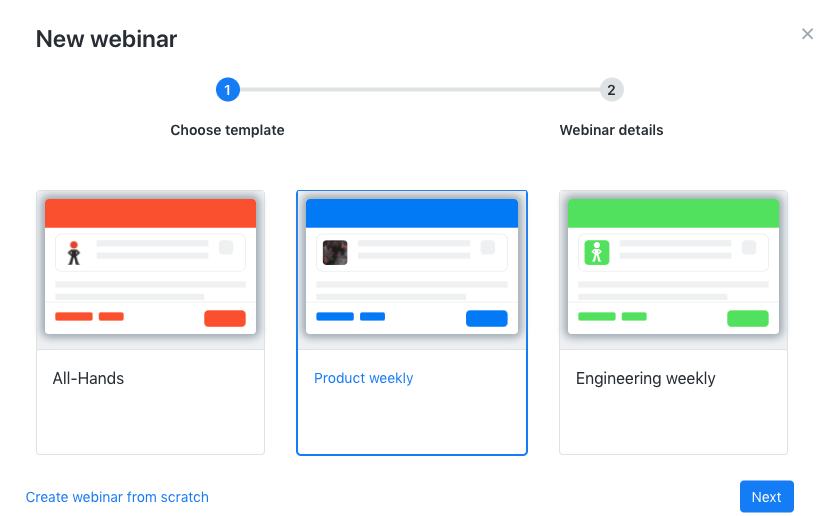
- Create a webinar from a template, by selecting a template and clicking on Next.
OR - Scroll down and clink on Create a webinar from scratch
Creating a webinar from a template
When creating a webinar from a template, simply select the webinar template that you wish to use:
More information on webinar templates is available here.
Next, all you need to do is add the webinar general information, as explained below.
Creating a webinar from scratch
If you choose to create a webinar from scratch, the wizard will take you through four quick steps:
- Add the webinar general information
- Add interactive features to the webinar
- Add design/branding to the webinar
- Add a registration page to the webinar
Adding the webinar general information
- This is the first step fo the webinar creation process when creating a webinar from scratch, (or the second step of you are creating a webinar from a template). Enter the below information for your webinar:

- Webinar name: Name of the webinar visible to all participants.
- Starts at: Start and end date/time of the webinar. The start time will be used to determine when the system will send the "starting soon" emails, and display the countdown to the start of the webinar that will be visible to speakers and participants.
- Duration in minutes: This is the expected full duration of the webinar.
- Timezone: This is the timezone of the webinar. Times will adapt to the participants' actual timezones based on where they are located.
- Data location: This will determine where your event data is stored. More information on this is available in the SpotMe data residency article.
- Webinar URL: This is the link or URL that will allow your audience to join the webinar. - After entering the necessary information, click on Next.
This will take you to the next step of the creation process, where you can add the interactive features to the webinar.
NEXT STEPS
Add interactive features to the webinar
Add design/branding to the webinar
Add a registration page to the webinar
Comments
0 comments
Please sign in to leave a comment.